Growing strawberries is both fun and satisfying, but the costs can add up quickly. That is, unless you take a page from my nana’s book. She’s discovered a simple trick that helps her grow loads of strawberries without spending much at all. By using inexpensive supplies from the dollar store, she’s created a brilliant strawberry planter that’s both effective and affordable. This method is a great way to reuse everyday items and grow a thriving batch of strawberries at very little cost. With a little effort and imagination, you too can grow your own strawberries without stretching your budget.
What You’ll Need for the Budget-Friendly Strawberry Planter
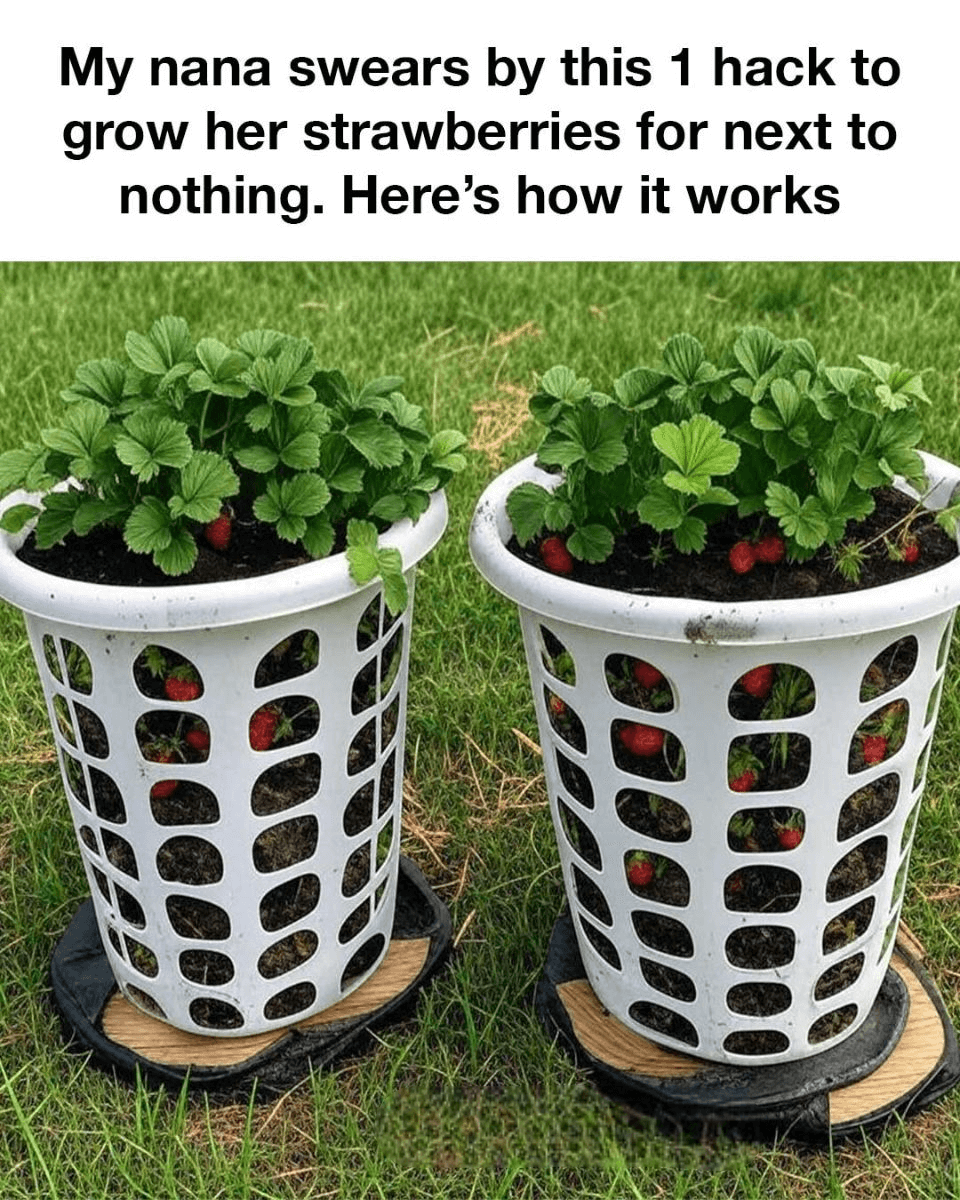
To recreate this clever DIY project, gather a few low-cost items—most of which are easily found at the dollar store. You’ll need:
- Two plastic laundry baskets
- A roll of weed barrier fabric
- One bag of potting soil
- One bag of compost
- Strawberry seedlings
- A pair of scissors
- A small hand trowel
- A watering can
These materials are easy on your wallet and simple to find, making this project ideal for beginner and experienced gardeners alike.
How to Assemble Your DIY Strawberry Planter
Choose a sunny location in your yard, balcony, or patio where your strawberry plants will receive ample light throughout the day. Once you have your spot picked out, bring together all your materials and get ready to start building your budget-friendly planter. The following guide outlines each step to give your strawberries the best possible growing environment.
Preparing the Laundry Baskets
Start by taking one of your plastic laundry baskets and lining the inside with weed barrier fabric. This lining helps keep the soil in place while still allowing water to drain out—preventing the roots from becoming waterlogged. Trim the fabric to fit the interior of the basket and be sure it covers both the bottom and the sides. You can fold the edges of the fabric over the rim of the basket to secure it in place.
Adding Soil and Compost for Healthy Growth
Once your basket is lined, it’s time to add your growing medium. Begin with a layer of potting soil at the bottom, then add a layer of compost. Alternate these layers as you go, continuing until the basket is nearly full—leave about an inch of space at the top. This mixture provides the essential nutrients your strawberry plants need to thrive and bear fruit.
Planting Your Strawberries
Now that your basket is filled and ready, use your hand trowel to dig small planting holes. Space the holes about 6 inches apart. Carefully place each strawberry seedling into a hole, covering the roots with soil and making sure the crown (the part where the leaves meet the roots) sits level with the soil’s surface. Water each seedling thoroughly after planting to help them settle in.
Maintaining Your Strawberry Basket
Strawberries need consistent attention to grow well. Water your planter regularly—just enough to keep the soil moist, but not soggy. Use a balanced fertilizer every few weeks to boost growth. It’s also important to remove any weeds or dead leaves you see, as they can attract pests or lead to disease.
Extra Tips to Boost Your Harvest
Want to get the most out of your strawberry planter? Try rotating it every couple of weeks to make sure all sides receive equal sunlight. Remove the first set of flowers that appear; this encourages the plants to develop stronger roots before they start producing fruit. Also, consider placing netting over your basket to protect your crop from birds or other hungry critters.
Reaping the Rewards of Your DIY Garden
With just a few affordable materials and a bit of your time, you can enjoy a steady supply of homegrown strawberries. My nana’s method shows that you don’t need to spend a lot to grow a successful garden. Stick to the steps, care for your planter, and you’ll be enjoying juicy, fresh strawberries—knowing you grew them yourself without spending a fortune.