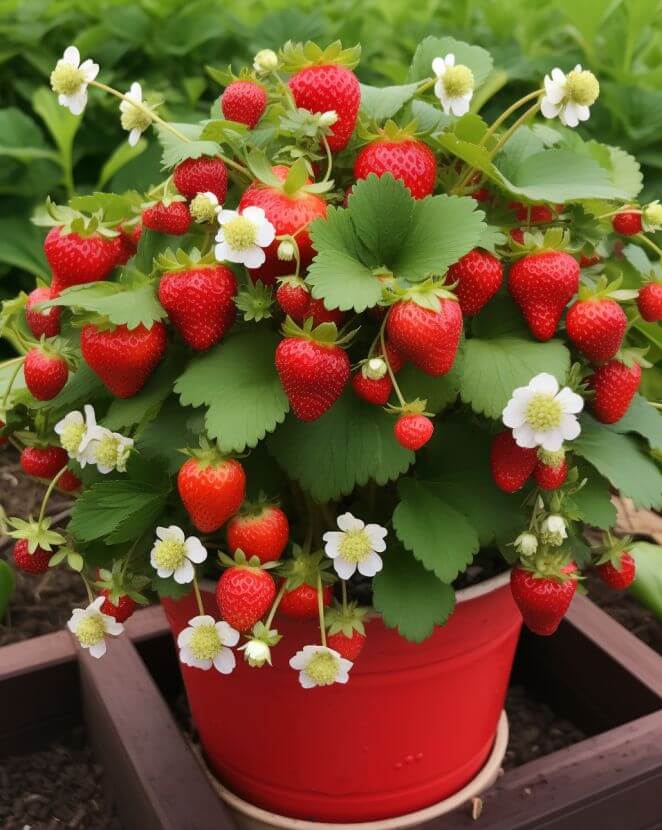
Craving the taste of fresh, homegrown strawberries but short on garden space? No problem. Growing strawberries in a planter is an excellent way to enjoy these sweet, juicy fruits, even if you only have a small balcony, patio, or a limited yard. A planter provides an easy and efficient way to cultivate strawberries while keeping them within arm’s reach.
With the right care, you can enjoy a thriving strawberry harvest without needing a large garden. Follow this simple guide to successfully grow strawberries in a planter and enjoy fresh berries straight from your own home.
Step 1: Select the Right Planter
- Choose a planter that is at least 12 inches deep to allow enough space for root growth.
- Ensure the planter has drainage holes to prevent excess water from accumulating.
Step 2: Pick the Best Strawberry Variety
Different types of strawberries thrive in different conditions. Consider your climate and preferences when selecting a variety:
- June-bearing – Produces a single large harvest per season.
- Everbearing – Yields strawberries in smaller batches throughout the season.
- Day-neutral – Continues producing fruit consistently, regardless of day length.
Step 3: Prepare the Soil
- Use well-draining potting mix or a blend of garden soil and compost.
- Keep the soil loose and airy to encourage strong root growth.
- Avoid heavy clay soil, as it holds too much moisture and can lead to root rot.
Step 4: Plant Your Strawberries
- Position the planter in a sunny spot that gets at least six hours of direct sunlight daily.
- Fill the planter with soil, leaving about an inch of space below the rim.
- Space plants 12 inches apart to allow room for growth.
- Ensure the crown (where the leaves meet the roots) sits at soil level.
Step 5: Watering Your Plants
- Water thoroughly after planting to help the plants settle.
- Keep the soil evenly moist but not waterlogged.
- During dry periods, water more frequently. Avoid overhead watering to reduce disease risk.
Step 6: Provide Essential Nutrients
- Strawberries require regular feeding for healthy growth and fruit production.
- Apply a slow-release, balanced fertilizer or a liquid fertilizer every two to three weeks.
- Follow the fertilizer instructions carefully to avoid overfeeding.
Step 7: Mulch for Moisture Retention
- Spread a thin layer of straw or mulch around the plants to:
- Suppress weed growth
- Retain soil moisture
- Prevent fruit from touching the soil and spoiling
- Be sure to keep mulch away from the crown to prevent rot.
Step 8: Watch for Pests and Diseases
- Inspect plants regularly for common pests like aphids or slugs.
- Keep an eye out for fungal infections and take action early.
- Use organic pest control methods or consult a local garden expert if needed.
Step 9: Encourage Pollination
Most strawberry plants are self-pollinating, but for better fruit production:
- Gently brush a soft-bristled brush or your finger across the flowers to transfer pollen.
- This small step helps maximize fruit yield and ensure larger, healthier berries.
Step 10: Harvest Your Homegrown Strawberries
- When strawberries are fully red, they are ripe and ready to eat.
- Harvest carefully by gently plucking them from the plant to avoid damage.
- Enjoy them fresh or incorporate them into your favorite recipes.
With these steps, you’ll have a continuous supply of fresh, homegrown strawberries, no matter how much space you have. Start your strawberry-growing journey today and savor the delicious rewards.
Happy planting.
