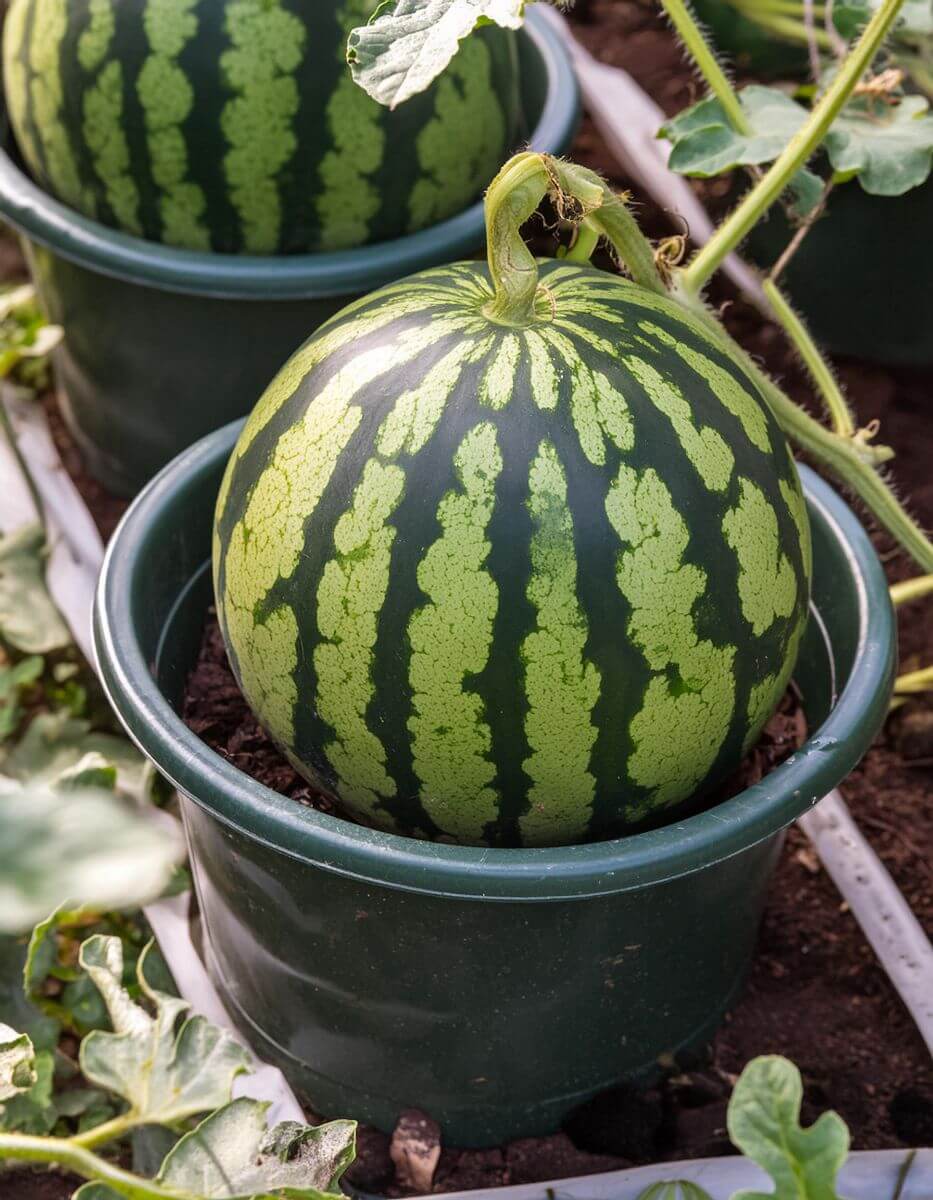
Growing your own watermelons can add a fun and rewarding element to your gardening experience, even if you have limited space. While many assume these fruits require expansive fields, advancements in gardening methods now make it possible to cultivate watermelons in containers. This approach not only makes the most of small spaces but also provides better control over growing conditions, potentially leading to healthier and more flavorful melons.
This guide is designed for anyone looking to try an innovative gardening method. Whether you’re short on space or just want to experiment with something different, container-grown watermelons offer a unique challenge with delicious results. Below, you’ll find step-by-step instructions to help ensure your gardening success.
Step-by-Step Guide to Growing Watermelons in Containers
Step 1: Selecting the Right Variety
- Choose compact or bush-type watermelon varieties, such as ‘Sugar Baby’ or ‘Bush Sugar Baby,’ as they are well-suited for container growth.
- Opt for disease-resistant varieties to improve the chances of a healthy and productive plant.
Step 2: Choosing the Ideal Container
- Use a container that is spacious enough to support the plant’s root system—at least a 5-gallon capacity is recommended for proper development.
- Ensure the container has adequate drainage holes to prevent excess water buildup, which can cause root rot and other plant health issues.
Step 3: Preparing the Soil and Planting
- Fill the container with a high-quality potting mix enriched with organic matter. Avoid using garden soil, as it can be too dense and may carry harmful pathogens.
- Incorporate a slow-release, balanced fertilizer to provide consistent nutrients throughout the plant’s growing cycle.
- Plant seeds or seedlings only after the last frost date has passed to protect them from cold damage.
Step 4: Caring for Your Watermelon Plant
- Watermelons require a steady water supply, so be sure to maintain consistent moisture in the soil—keeping it damp but not waterlogged.
- Place the container in a location that gets at least 6 to 8 hours of direct sunlight per day.
- Keep an eye out for pests and diseases, and address any issues promptly to prevent damage to the plant.
Step 5: Harvesting Your Watermelons
- Depending on the variety, watermelons are generally ready for harvest around 80 to 90 days after planting.
- Signs of ripeness include a yellowish patch on the bottom of the fruit and a dull, hollow sound when tapped.
Final Thoughts
By following these steps, you can successfully grow juicy, flavorful watermelons right from your own home—even without a traditional garden. This method not only maximizes space but also makes it easier to monitor and maintain your plants. Whether you’re a beginner or an experienced gardener looking for a new project, container gardening with watermelons is an exciting and practical choice. Enjoy the process and the delicious rewards of your efforts!
