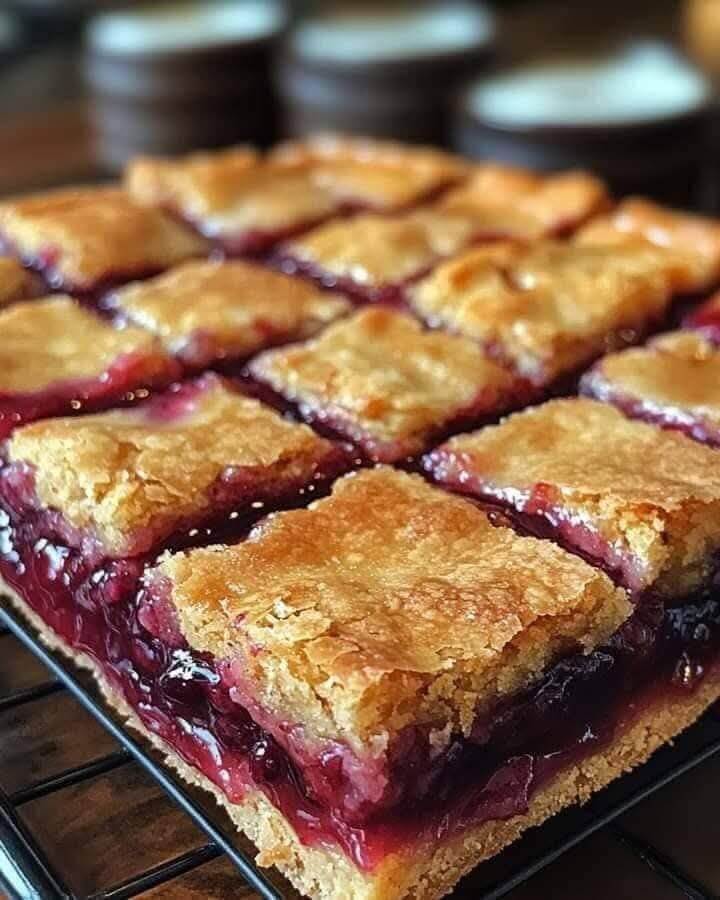
If you love the taste of homemade cherry pie but don’t have the time or patience to make one from scratch, these Cherry Pie Bars are about to become your new favorite dessert. Imagine a buttery crust layered with juicy cherry filling, topped with a soft, cake-like crumble, and finished with a smooth almond glaze—it’s everything you love about pie, only easier and perfect for sharing.
Cherry Pie Bars
Ingredients:
For the Crust:
| Ingredient | Quantity |
|---|---|
| Butter, softened | 1 cup |
| Sugar | 2 cups |
| Eggs | 4 |
| Vanilla extract | 1 tsp |
| Almond extract | 1/4 tsp |
| All-purpose flour | 3 cups |
| Salt | 1 tsp |
For the Filling:
| Ingredient | Quantity |
|---|---|
| Cherry pie filling | 2 cans (21 oz each) |
For the Glaze:
| Ingredient | Quantity |
|---|---|
| Powdered sugar | 1 cup |
| Vanilla extract | 1/2 tsp |
| Almond extract | 1/2 tsp |
| Milk | 2 tbsp |
Directions:
Step 1: Preheat the Oven
Set your oven to 350°F (175°C). Lightly grease and flour a 15×10×1-inch baking pan or line it with non-stick spray to make cleanup a breeze.
Step 2: Make the Batter
In a large bowl, cream together the softened butter and sugar until light, fluffy, and pale in color. This step ensures a tender crust and topping.
Step 3: Add Eggs and Flavoring
Add the eggs one at a time, mixing well after each addition. Stir in the vanilla and almond extracts to give your batter a deliciously aromatic flavor.
Step 4: Mix Dry Ingredients
In a separate bowl, whisk together the flour and salt. Gradually add the dry mixture to the wet ingredients, stirring just until combined to form a thick batter.
Step 5: Assemble the Bars
Spread about three cups of the batter evenly across the bottom of your prepared pan. Spoon the cherry pie filling over it, spreading evenly. Drop spoonfuls of the remaining batter over the top—no need to cover completely; a few gaps make the bars even prettier.
Step 6: Bake
Bake for 30–35 minutes, or until the edges are golden and a toothpick inserted into the center comes out clean. (If using a smaller 9×13-inch pan, allow a few extra minutes of baking time.)
Step 7: Cool Completely
Remove the pan from the oven and let the bars cool completely on a wire rack. This helps the texture set perfectly before glazing.
Step 8: Prepare the Glaze
Whisk together powdered sugar, milk, and both extracts in a small bowl until smooth and pourable. Adjust consistency by adding a few extra drops of milk if needed.
Step 9: Finish and Serve
Drizzle the glaze generously over the cooled bars. Once it sets, slice into squares and serve. These cherry pie bars are perfect for potlucks, picnics, or anytime you want a no-fuss dessert that looks as good as it tastes!