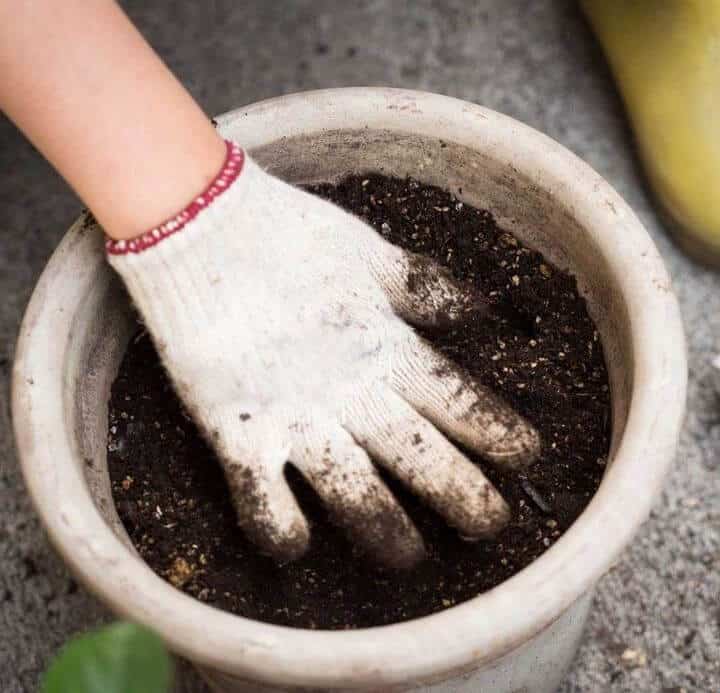
Reusing old potting soil is an eco-friendly approach that benefits both the environment and your garden. Many gardeners often discard used potting soil and purchase fresh mix each season, but with a little effort, old soil can be revived and reused. This practice not only helps reduce waste but also conserves resources and saves money. By learning how to refresh and reuse your old potting soil, you can continue to provide your plants with a healthy, nutrient-rich growing medium without the need for constant replacements.
Soil quality is crucial for successful gardening, and while new potting mix is often the go-to choice, reused soil can be just as effective—if not better! In this article, we’ll show you how to revitalize old potting soil and prepare it for the next planting season, ensuring that your plants thrive while also being mindful of your budget and the environment.
Step-by-Step Guide to Reviving Old Potting Soil
1. Remove Debris
Begin by sifting through your old potting soil to remove any large debris, dead plant material, or leftover roots. This helps create a cleaner and more even mix for reusing, setting a solid foundation for rejuvenation.
2. Sterilize the Soil
To prevent any potential pests or plant diseases from being transferred to new plants, sterilize the soil. A simple method is to spread the soil evenly on a baking sheet and heat it in the oven at 180-200°F (82-93°C) for about 30 minutes. Ensure that the soil reaches 180°F to effectively kill any unwanted organisms.
3. Add Compost
To enhance the nutrient content of your reused potting soil, mix in 25-30% fresh compost by volume. Compost enriches the soil with essential nutrients, improving its fertility and making it more suitable for plant growth.
4. Incorporate Slow-Release Fertilizer
To provide your plants with a steady supply of nutrients, add a slow-release fertilizer to the potting mix. Follow the product instructions for the correct application rates, ensuring that the fertilizer is evenly distributed throughout the soil.
5. Improve Soil Structure
To improve the soil’s drainage and structure, add materials like perlite, vermiculite, or coarse sand. These ingredients help create air pockets in the soil, ensuring better aeration and drainage, which is vital for root health. Mix them thoroughly to ensure even distribution.
6. Test and Adjust pH Levels
Check the pH level of your soil using a soil test kit. Based on the results, you may need to adjust the pH to suit the types of plants you intend to grow. If your soil is too acidic, add lime to raise the pH; if it’s too alkaline, sulfur can be used to lower it. Aim for the ideal pH range for your plants.
7. Store the Soil Properly
Once your potting soil has been revitalized, store it in a cool, dry location until you’re ready to use it. Proper storage will help prevent mold growth and preserve the soil’s quality until the next planting season.
Conclusion: Sustainable Gardening with Reused Potting Soil
By following these simple steps, you can transform your old potting soil into a fertile and sustainable growing medium for your garden. Not only will you reduce waste and save money, but you’ll also be supporting a healthier garden that thrives year after year. With a little care and effort, your reused potting soil can continue to nourish your plants and contribute to a more eco-friendly gardening practice. Happy gardening!
