Gardenias are cherished by gardeners for their elegant white blooms and their sweet, captivating fragrance. Propagating them through cuttings is not only an effective way to grow your collection, but it’s also a meaningful way to share these beautiful plants with friends and family. This method allows you to expand your garden while experiencing the fulfillment of nurturing a plant from the very beginning.
If you’re interested in multiplying your gardenias, this guide will walk you through the entire process. Whether you’re new to gardening or a seasoned green thumb, the following steps are clear, simple, and easy to follow.
1. Gather Your Supplies
Before you begin, assemble the tools and materials you’ll need:
- A pair of clean garden shears or sharp scissors
- Rooting hormone (either powder or gel)
- Small pots with drainage holes
- High-quality potting soil or propagation mix
- Clear plastic bags or a humidity dome
2. Timing Matters
For the best results, take your gardenia cuttings in late spring or early summer. During this time, the plant is actively growing, which increases the likelihood of successful rooting.
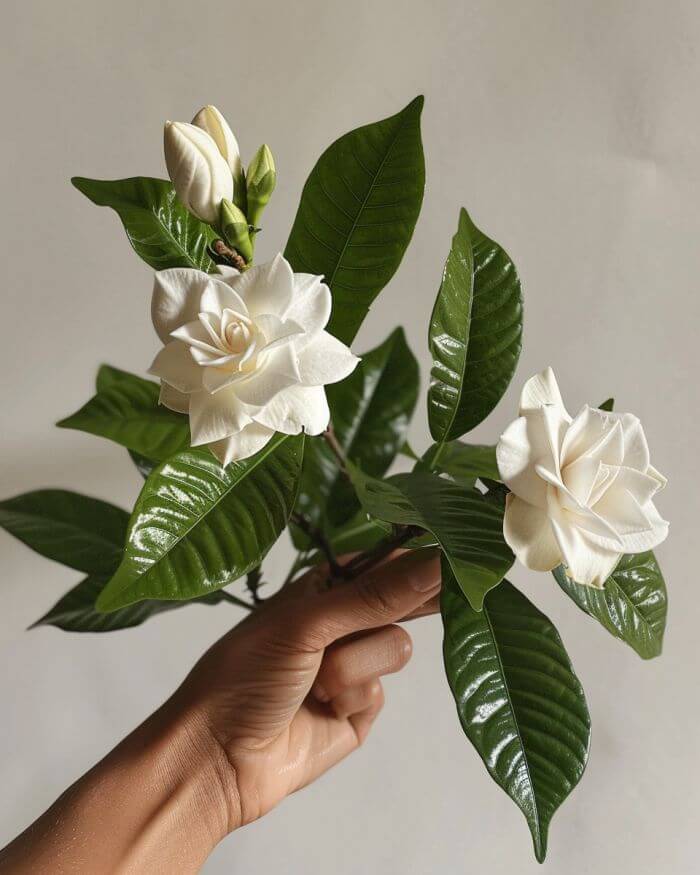
3. Pick a Healthy Plant
Choose a mature, healthy gardenia plant that shows no signs of pests or disease. A vigorous parent plant will give your cuttings a stronger start and better chances of thriving.
4. Take Your Cuttings
Using your shears or scissors, cut a 4- to 6-inch section of stem just below a node—this is where the leaves meet the stem. Make sure each cutting includes at least two sets of leaves for best results.
5. Prepare the Cuttings
Remove the leaves from the lower part of each cutting to reduce moisture loss and encourage root growth. Next, dip the cut end into rooting hormone to promote stronger and faster root development.
6. Plant the Cuttings
Fill your pots with moist, well-draining potting mix. Use your finger or a pencil to create a small hole in the center, then insert the cutting. Gently press the soil around it to ensure stability and eliminate air pockets. Lightly water the soil to help it settle.
7. Keep It Humid
To maintain the right humidity, cover each pot with a clear plastic bag or use a propagation dome. This mini greenhouse effect helps retain moisture and supports the rooting process.
8. Care and Monitoring
Place the cuttings in a well-lit area that receives indirect sunlight. Keep the soil consistently moist, but avoid overwatering. After about 4 to 6 weeks, test for roots by gently pulling on the cuttings—resistance usually indicates successful rooting.
9. Transplant When Ready
Once the roots have developed well, it’s time to transplant your new gardenia plants. Before placing them in the garden or a larger container, gradually expose them to outdoor conditions so they can adjust to the change.
By carefully following each of these steps, you can successfully propagate gardenias and enjoy more of their beauty in your outdoor space. Watching new plants grow from cuttings is not only rewarding—it’s also a testament to your gardening efforts.
Happy planting!